【Cocos Creator 3.8】ChromaticAbberation の実装:アタッチするだけで「被ダメ時の画面色ズレエフェクト」を実現する汎用スクリプト
この記事では、Cocos Creator 3.8.7 + TypeScript で、「衝撃を受けた瞬間に画面全体の色チャンネル(RGB)を一瞬ズラして歪ませる」ための汎用コンポーネント ChromaticAbberation を実装します。
このコンポーネントは、キャンバス(Canvas)やカメラにアタッチしておくだけで、任意のタイミングでメソッドを呼び出すだけで色収差エフェクトを発生させられます。
エディタのインスペクタからパラメータを調整できるようにし、外部の GameManager やシングルトンに一切依存しない、完全に独立したスクリプトとして設計します。
コンポーネントの設計方針
1. 実現したい機能
- 画面全体に対して、一時的な色収差(RGB チャンネルのずれ)を適用する。
- 「衝撃を受けた瞬間」などで、
trigger()のようなメソッドを呼ぶと、指定時間だけエフェクトが強くなり、時間経過とともにフェードアウトする。 - エフェクトはポストエフェクト(カメラの後処理)として実装し、他ノードに依存しない。
- インスペクタからエフェクトの強さ・時間・ランダム性などを調整可能にする。
2. 外部依存をなくすためのアプローチ
- このコンポーネント自身が、専用の RenderTexture とフルスクリーンクワッド(全画面板ポリゴン)を内部で生成し、カメラの出力をそこに描画してから加工して表示する。
- エフェクトの制御はすべてこのコンポーネント内で完結させる。
- 必要な標準コンポーネント(
Cameraなど)はgetComponentで取得を試み、足りない場合はerrorログを出す。 - シェーダ(
EffectAsset)も@propertyから参照を受け取り、外部のスクリプトやリソース命名規則には依存しない。
3. 前提となる仕組み(簡易説明)
色収差ポストエフェクトの流れ:
- 対象カメラの出力先を
RenderTextureに変更する。 - 画面いっぱいの四角形(フルスクリーンクワッド)に、
RenderTextureを貼る。 - そのクワッドに、色収差用シェーダを使った
Materialを設定する。 - シェーダ内で、R/G/B のサンプリング座標を少しずらすことで「色ズレ」を表現する。
- TS 側からシェーダの
uniform(強さ・時間など)を更新してアニメーションさせる。
この記事では、TS 側のコンポーネント実装に焦点を当てます。シェーダ(Effect)ファイルは @property でインスペクタからアサインする前提です。
4. インスペクタで設定可能なプロパティ設計
ChromaticAbberation コンポーネントのプロパティ案:
- targetCamera: Camera
– 色収差を適用する対象カメラ。
– 未指定の場合は、アタッチされているノードのCameraを自動取得する。 - effectAsset: EffectAsset
– 色収差用シェーダ(Effect)アセット。
– インスペクタでドラッグ&ドロップして設定する。
– 未設定の場合はエラーログを出し、エフェクトは無効。 - maxOffset: number
– 色チャンネルの最大オフセット量(ピクセル換算相当)。
– 値が大きいほど色ズレが激しくなる。例: 0.002 ~ 0.01。 - duration: number
– エフェクトの有効時間(秒)。
–trigger()を呼んでから、この時間をかけて 0 へフェードアウトする。 - useRandomDirection: boolean
– true: 発生のたびにランダム方向へ RGB をずらす。
– false: 常に同じ方向(右上方向など)にずらす。 - baseDirection: Vec2
–useRandomDirection == falseのときの色ズレ方向(UV 空間)。
– 例: (1, 1) で右上方向、(-1, 0) で左方向。 - timeScale: number
– シェーダ内で使う時間スケール。
– 1.0 が標準、値を上げると色収差の揺れが高速になる。 - autoTriggerOnStart: boolean
– true:start()時に自動で一度trigger()を呼ぶ。
– テストや演出確認に便利。
これらはすべて @property でエディタから直接調整できるようにします。
TypeScriptコードの実装
以下が、ChromaticAbberation.ts の完全実装例です。
import {
    _decorator,
    Component,
    Camera,
    RenderTexture,
    director,
    game,
    view,
    Node,
    UITransform,
    Sprite,
    SpriteFrame,
    Material,
    EffectAsset,
    Vec2,
    Vec3,
    math,
    error,
    log,
} from 'cc';
const { ccclass, property } = _decorator;

/**
 * ChromaticAbberation
 * - カメラ出力を RenderTexture にキャプチャし、
 *   フルスクリーンの Sprite に色収差シェーダを適用して表示するコンポーネント。
 * - 外部スクリプトに依存せず、このコンポーネント単体で完結します。
 */
@ccclass('ChromaticAbberation')
export class ChromaticAbberation extends Component {

    @property({
        type: Camera,
        tooltip: '色収差を適用する対象カメラ。\n未指定の場合、このノードの Camera を自動取得します。',
    })
    public targetCamera: Camera | null = null;

    @property({
        type: EffectAsset,
        tooltip: '色収差用の EffectAsset(シェーダ)。\n必ずインスペクタから設定してください。',
    })
    public effectAsset: EffectAsset | null = null;

    @property({
        tooltip: '色チャンネルの最大オフセット量(UV 空間)。\n0.002 ~ 0.01 程度で調整してください。',
    })
    public maxOffset: number = 0.004;

    @property({
        tooltip: 'エフェクトが完全に消えるまでの時間(秒)。',
    })
    public duration: number = 0.3;

    @property({
        tooltip: 'true: 毎回ランダム方向に色ズレを発生させます。\nfalse: baseDirection の方向に固定でずらします。',
    })
    public useRandomDirection: boolean = true;

    @property({
        type: Vec2,
        tooltip: 'useRandomDirection が false のときに使用する色ズレ方向(UV 空間)。\n(1, 1) で右上、(-1, 0) で左方向など。',
    })
    public baseDirection: Vec2 = new Vec2(1, 1);

    @property({
        tooltip: 'シェーダ内で使用する時間スケール。\n値を大きくすると揺れが速くなります。',
    })
    public timeScale: number = 1.0;

    @property({
        tooltip: 'true の場合、start() 時に自動で一度 trigger() を呼びます。\n動作確認に便利です。',
    })
    public autoTriggerOnStart: boolean = false;

    // 内部状態
    private _renderTexture: RenderTexture | null = null;
    private _fullscreenNode: Node | null = null;
    private _sprite: Sprite | null = null;
    private _material: Material | null = null;

    private _elapsed: number = 0;
    private _isPlaying: boolean = false;
    private _currentDirection: Vec2 = new Vec2(1, 1);

    onLoad() {
        // カメラの自動取得
        if (!this.targetCamera) {
            const cam = this.getComponent(Camera);
            if (cam) {
                this.targetCamera = cam;
                log('[ChromaticAbberation] Camera を自動取得しました。');
            } else {
                error('[ChromaticAbberation] targetCamera が設定されておらず、このノードにも Camera がありません。エフェクトは動作しません。');
            }
        }

        if (!this.effectAsset) {
            error('[ChromaticAbberation] effectAsset (色収差シェーダ) が設定されていません。エフェクトは無効になります。');
        }

        // 必要なリソースとノードを初期化
        this._initRenderPipeline();
    }

    start() {
        if (this.autoTriggerOnStart) {
            this.trigger();
        }
    }

    update(deltaTime: number) {
        if (!this._material || !this._isPlaying) {
            return;
        }

        this._elapsed += deltaTime;
        const t = math.clamp01(this._elapsed / Math.max(this.duration, 0.0001));
        const intensity = 1.0 - t; // 1 → 0 に減衰

        // シェーダに渡すパラメータ更新
        const offsetAmount = this.maxOffset * intensity;
        const dir = this._currentDirection;

        // 時間(揺れなどに使用)
        const time = game.totalTime / 1000.0 * this.timeScale;

        // Material の uniform 更新
        // ※ Effect 側で _ChromaticParams 等の uniform 名を合わせてください。
        this._material.setProperty('_ChromaticOffset', new Vec2(dir.x * offsetAmount, dir.y * offsetAmount));
        this._material.setProperty('_ChromaticTime', time);

        // エフェクト終了判定
        if (this._elapsed >= this.duration) {
            this._isPlaying = false;
            // 最後にオフセットを 0 に戻す
            this._material.setProperty('_ChromaticOffset', new Vec2(0, 0));
        }
    }

    /**
     * 衝撃などで色収差エフェクトを発生させたいときに呼び出します。
     * 例: プレイヤーがダメージを受けた瞬間に trigger() を呼ぶ。
     */
    public trigger() {
        if (!this._material) {
            error('[ChromaticAbberation] Material が初期化されていないため、trigger() を実行できません。effectAsset が設定されているか確認してください。');
            return;
        }

        this._elapsed = 0;
        this._isPlaying = true;

        // 方向を決定
        if (this.useRandomDirection) {
            const angle = Math.random() * Math.PI * 2;
            this._currentDirection.set(Math.cos(angle), Math.sin(angle));
        } else {
            if (this.baseDirection.length() === 0) {
                this._currentDirection.set(1, 1);
            } else {
                this._currentDirection = this.baseDirection.clone().normalize();
            }
        }
    }

    /**
     * カメラ出力 → RenderTexture → フルスクリーン Sprite → 色収差 Material
     * というパイプラインを構築する。
     */
    private _initRenderPipeline() {
        if (!this.targetCamera) {
            return;
        }

        // すでに初期化済みならスキップ
        if (this._renderTexture && this._fullscreenNode && this._material) {
            return;
        }

        // 画面サイズを取得
        const size = view.getDesignResolutionSize();

        // RenderTexture の作成
        this._renderTexture = new RenderTexture();
        this._renderTexture.reset({
            width: size.width,
            height: size.height,
        });

        // カメラの出力先を RenderTexture に変更
        this.targetCamera.targetTexture = this._renderTexture;

        // フルスクリーン表示用ノードを作成
        this._fullscreenNode = new Node('ChromaticAbberationFullScreen');
        const uiTransform = this._fullscreenNode.addComponent(UITransform);
        uiTransform.setContentSize(size.width, size.height);

        // 2D UI 上に重ねて描画したい場合は Canvas の子に、
        // 3D シーン内に置きたい場合は適切な親に追加してください。
        // ここでは、このコンポーネントのノードの子として追加します。
        this.node.addChild(this._fullscreenNode);

        // 中央に配置
        this._fullscreenNode.setPosition(new Vec3(0, 0, 0));

        // Sprite を追加して RenderTexture を貼る
        this._sprite = this._fullscreenNode.addComponent(Sprite);
        const spriteFrame = new SpriteFrame();
        spriteFrame.texture = this._renderTexture;
        this._sprite.spriteFrame = spriteFrame;

        // Material を作成して EffectAsset を設定
        if (!this.effectAsset) {
            error('[ChromaticAbberation] effectAsset が設定されていないため、Material を作成できません。');
            return;
        }

        this._material = new Material();
        this._material.initialize({
            effectAsset: this.effectAsset,
        });

        this._sprite.customMaterial = this._material;

        // 初期値としてオフセットを 0 に設定
        this._material.setProperty('_ChromaticOffset', new Vec2(0, 0));
        this._material.setProperty('_ChromaticTime', 0.0);

        log('[ChromaticAbberation] RenderTexture とフルスクリーン Sprite の初期化が完了しました。');
    }

    /**
     * 画面サイズが変わったときに RenderTexture / フルスクリーンノードを再調整したい場合は、
     * 必要に応じてこのメソッドを呼び出してください。
     */
    public resizeToView() {
        if (!this._renderTexture || !this._fullscreenNode) {
            this._initRenderPipeline();
            return;
        }

        const size = view.getDesignResolutionSize();
        this._renderTexture.reset({
            width: size.width,
            height: size.height,
        });

        const uiTransform = this._fullscreenNode.getComponent(UITransform);
        if (uiTransform) {
            uiTransform.setContentSize(size.width, size.height);
        }
    }
}
コードのポイント解説
- onLoad()
–targetCameraが未設定ならthis.getComponent(Camera)で自動取得。
–effectAssetが未設定ならerrorログを出し、エフェクトは無効。
–_initRenderPipeline()を呼び、RenderTexture とフルスクリーン Sprite を構築。 - _initRenderPipeline()
–RenderTextureを作成し、targetCamera.targetTextureに設定。
– フルスクリーン用子ノードを作成し、UITransformで画面サイズに合わせる。
–Spriteを追加し、そのspriteFrame.textureに RenderTexture を設定。
–effectAssetからMaterialを生成し、Sprite のcustomMaterialに設定。
– シェーダ側の uniform_ChromaticOffset,_ChromaticTimeを初期化。 - trigger()
– エフェクトを開始する公開メソッド。
–_elapsed = 0,_isPlaying = trueにリセット。
–useRandomDirectionに応じて、色ズレ方向_currentDirectionを決定。 - update(deltaTime)
– エフェクト再生中(_isPlaying == true)のみ処理。
– 経過時間から 0~1 の正規化値tを求め、強さを 1 → 0 に減衰。
–maxOffsetと方向ベクトルから、現在のオフセット量を算出し、Material の_ChromaticOffsetに設定。
–game.totalTimeから時間を取得し、_ChromaticTimeに渡す(シェーダ側で揺れなどに使用)。
–durationを超えたら、_isPlaying = falseにしてオフセットを 0 に戻す。 - resizeToView()
– 解像度変更時などに RenderTexture とフルスクリーンノードのサイズを再設定するための補助メソッド。
– 必須ではないが、マルチ解像度環境で役立つ。
使用手順と動作確認
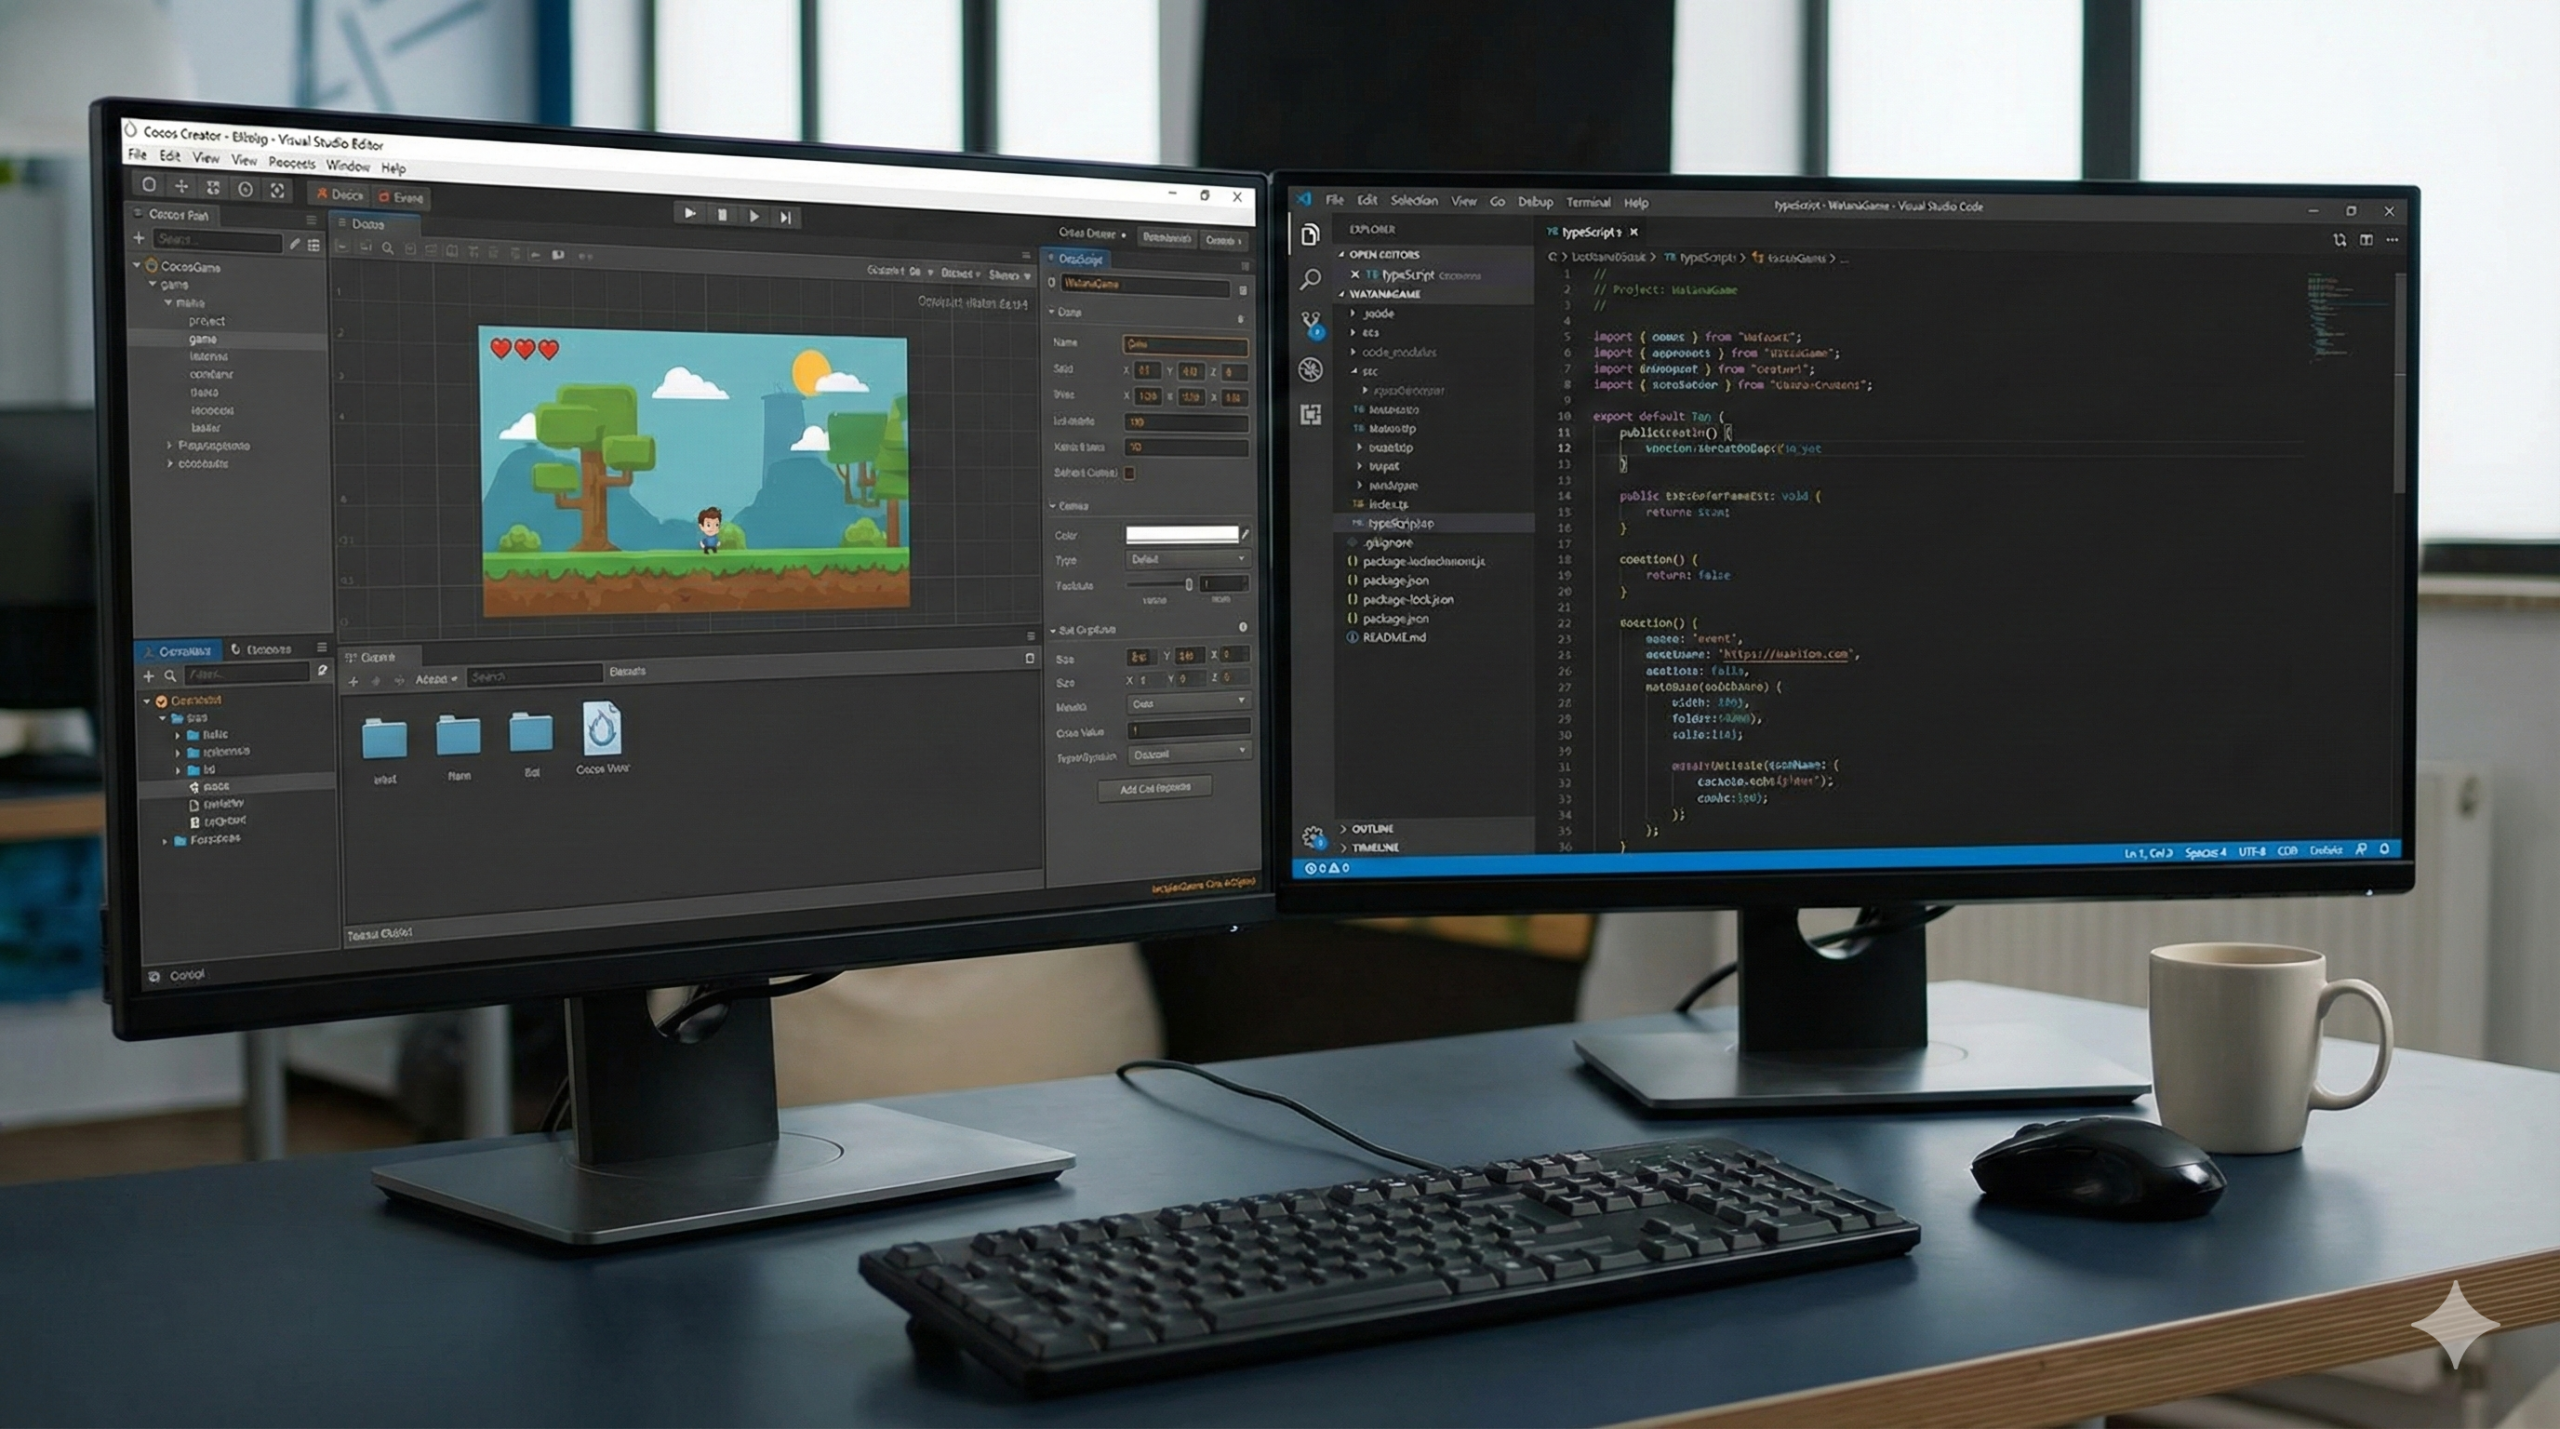
ここからは、Cocos Creator 3.8.7 のエディタ上で、このコンポーネントを実際に使う手順を説明します。
1. TypeScript スクリプトの作成
- Assets パネルで右クリック → Create → TypeScript を選択します。
- ファイル名を
ChromaticAbberation.tsにします。 - 作成された
ChromaticAbberation.tsをダブルクリックして開き、中身をすべて削除して、上記のコードを貼り付けます。 - 保存して、Cocos Creator に戻り、スクリプトのコンパイルが完了するのを待ちます。
2. 色収差用シェーダ(EffectAsset)の用意
このコンポーネントは、EffectAsset をインスペクタから受け取る設計になっています。
以下はエディタでの大まかな手順です(シェーダの中身の詳細はプロジェクトに合わせて実装してください)。
- Assets パネルで右クリック → Create → Effect を選択します。
- ファイル名を
chromatic-abberation.effectなど分かりやすい名前にします。 - Effect ファイルを開き、
_ChromaticOffset (vec2)と_ChromaticTime (float)を受け取るような uniform を定義し、RGB チャンネルを少しずらしてサンプリングするシェーダを実装します。- 例: R チャンネルは
uv + offset、G はuv、B はuv - offsetからサンプリングする等。
- 例: R チャンネルは
この Effect を使って Material を生成するのは、コンポーネント側で自動的に行うため、インスペクタで EffectAsset をアサインするだけで構いません。
3. シーンにカメラを用意する
通常の 2D/3D シーンで、すでに Main Camera が存在している想定です。
ここでは例として、既存のカメラにコンポーネントをアタッチする手順を説明します。
- Hierarchy パネルで Main Camera(または色収差をかけたいカメラ)を選択します。
- Inspector の下部で Add Component → Custom → ChromaticAbberation を選択し、カメラにアタッチします。
- Inspector に
ChromaticAbberationコンポーネントが表示されることを確認します。
4. インスペクタでプロパティを設定する
カメラの Inspector に表示された ChromaticAbberation の各プロパティを設定します。
- Target Camera
– 自動で このカメラ が設定されていればそのままでOK。
– もし空欄の場合は、このカメラのコンポーネントをドラッグ&ドロップで設定します。 - Effect Asset
– 先ほど作成したchromatic-abberation.effectをドラッグ&ドロップして設定します。 - Max Offset
– 例:0.004(標準的な強さ)
– 強くしたい場合は0.008などに上げてみてください。 - Duration
– 例:0.3(0.3 秒かけてフェードアウト)
– 長く残したい場合は0.5~0.7など。 - Use Random Direction
– 最初は ON 推奨。毎回違う方向に色ズレが出て派手な演出になります。 - Base Direction
– Use Random Direction を OFF にした場合のみ有効。
– 例: (1, 1) で右上方向にズレる。 - Time Scale
– 例:1.0(標準)
– 揺れを速くしたい場合は2.0など。 - Auto Trigger On Start
– 動作確認のために ON にしておくと、ゲーム開始時に自動で一度エフェクトが発生します。
5. 動作確認(エディタプレビュー)
- 上記の設定が完了したら、エディタ右上の ▶︎(Play) ボタンを押してプレビューを開始します。
- Auto Trigger On Start を ON にしている場合は、ゲーム開始直後に画面全体が一瞬「色ズレ」するはずです。
- もし何も起こらない場合は:
- Console に
[ChromaticAbberation]のエラーログが出ていないか確認する。 EffectAssetが正しく設定されているか確認する。- カメラの Clear Flags や Priority、Canvas の表示順などで画面が隠れていないか確認する。
- Console に
6. 実際のゲームロジックからエフェクトを呼び出す
Auto Trigger ではなく、プレイヤーがダメージを受けた瞬間などでエフェクトを発生させたい場合は、他のスクリプトから trigger() を呼び出します。
例:プレイヤーノードに付けたスクリプトから呼び出す場合
import { _decorator, Component, Node } from 'cc';
import { ChromaticAbberation } from './ChromaticAbberation';
const { ccclass, property } = _decorator;

@ccclass('Player')
export class Player extends Component {

    @property(ChromaticAbberation)
    chromaticAbberation: ChromaticAbberation | null = null;

    // ダメージを受けたときに呼ばれる想定のメソッド
    public onDamageTaken() {
        if (this.chromaticAbberation) {
            this.chromaticAbberation.trigger();
        }
    }
}
このように、他のスクリプトからは trigger() を呼ぶだけで色収差エフェクトを再生できます。
なお、この例のように Player スクリプトを作るかどうかは任意であり、ChromaticAbberation 自体は完全に独立している点に注意してください。
まとめ
ChromaticAbberationは、カメラにアタッチするだけで、衝撃時の「画面全体の色ズレ」演出を簡単に追加できる汎用コンポーネントです。- 外部の GameManager やシングルトンに依存せず、必要な設定はすべてインスペクタの @property から受け取る設計になっています。
- RenderTexture とフルスクリーン Sprite を内部で自動生成し、色収差用シェーダの Material を自動構築するため、シーン構成を汚さずに導入できます。
maxOffsetやduration、useRandomDirectionなどを調整することで、激しい被ダメ演出からさりげない揺らぎ表現まで幅広く対応できます。- このコンポーネント単体をプロジェクトのテンプレートとしておけば、どのゲームでも「アタッチ+EffectAsset指定+trigger()」だけで色収差エフェクトを再利用でき、演出実装の効率が大きく向上します。
必要に応じて、シェーダ側でブラーやノイズ、画面の歪みなどを追加すれば、よりリッチな「被ダメカメラエフェクト」を同じ枠組みのまま拡張していくことも可能です。